Back to blog
7 Tips to Make a Website Without Coding [Definitive Guide]
Learn how to make a website without coding using AI website builders and no-code tools. Craft a professional site easily–no technical skills required!
Feb 7 2025
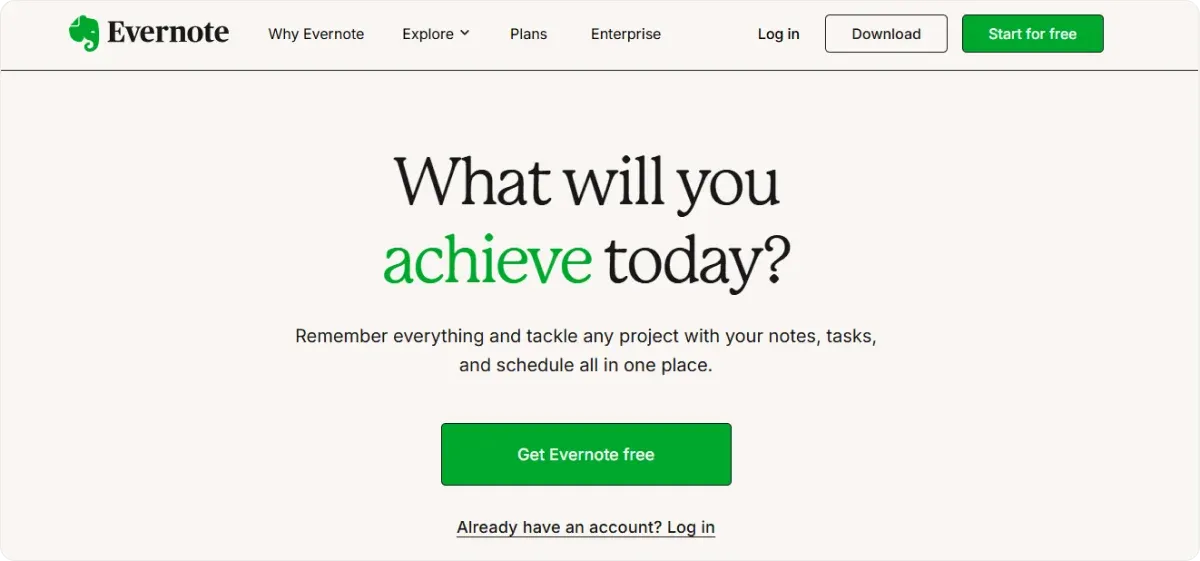
![7 Tips to Make a Website Without Coding [Definitive Guide]](https://codesi.ai/admin/static/Frame_1000008735_ebce2d9eaa.webp)
Creating a website can seem overwhelming, especially if you don't have a technical background.
But guess what?
You don’t need to be a coding wizard to create a stunning website.
Whether you want to launch a personal blog, showcase your portfolio, or start an online store, we’ll show you how to make a website without coding.
Let’s dive in!
How to Make a Website Without Coding in 7 Steps?
We won’t go into great detail about 2 quite obvious steps: defining your website’s objectives and goals and identifying your target audience.
These are necessary pre-steps you must consider to tailor and adjust your design, content, and functionality to provide the best user experience.
Step 1: Choose a No-Code Website Builder
Choosing the right no-code website builder is the first and most crucial step since it will take care of your website’s layout, elements, and overall functionality.
Thus, you should consider a few factors that can help you make an informed decision. The platform should:
- Have a minimal learning curve to save time.
- Provide a diverse range of templates and design libraries.
- Allow customization of colors, typography, and layout to suit your branding needs.
- Include built-in content management systems (CMS) for handling dynamic content easily.
- Have integrations with 3rd-party apps such as email marketing platforms, eCommerce solutions, and analytics tools.
- Provide strong and responsive customer support.
In addition, evaluate the cost-effectiveness of the platform against its features and competitors.
Don’t forget to consider both upfront and ongoing subscription fees.
Step 2: Design Structure and Layout
Deciding on your website’s structure and layout is fundamental since it’s your audience's first contact with your brand.
Let’s check the key components of the website structure.
Homepage
The main entry point for visitors, homepage provides an overview of your site’s purpose and key features.
It should include clear navigation options and look coherent and not overcrowded.
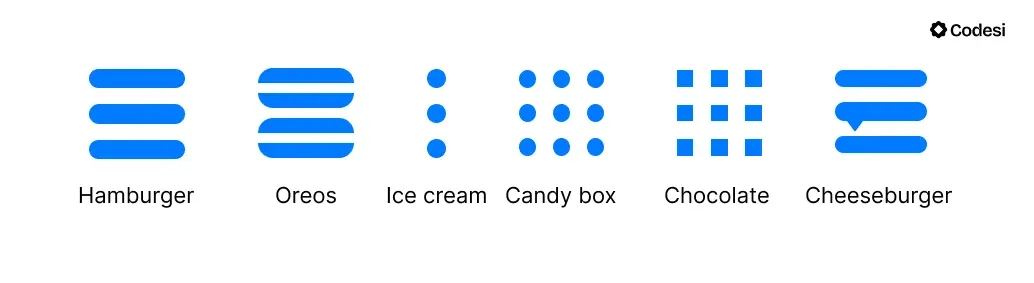
Navigation Menus
Effective navigation is essential to guide your visitors smoothly through the website.
You may consider a floating navigation bar that stays on top, enabling visitors to click on it immediately.
In addition, you can opt for hamburger menus, which save space and allow your visitors to access information directly and in an organized way.
Layout
Organizing content into categories and subcategories helps your visitors find information more efficiently.
Your website should have clear headings and subheadings to separate crucial from additional information.
Usually, the hierarchical structure starts with a main category on the homepage, followed by related subcategories, such as:
- Features,
- Testimonials,
- Contact info,
- FAQs, etc.
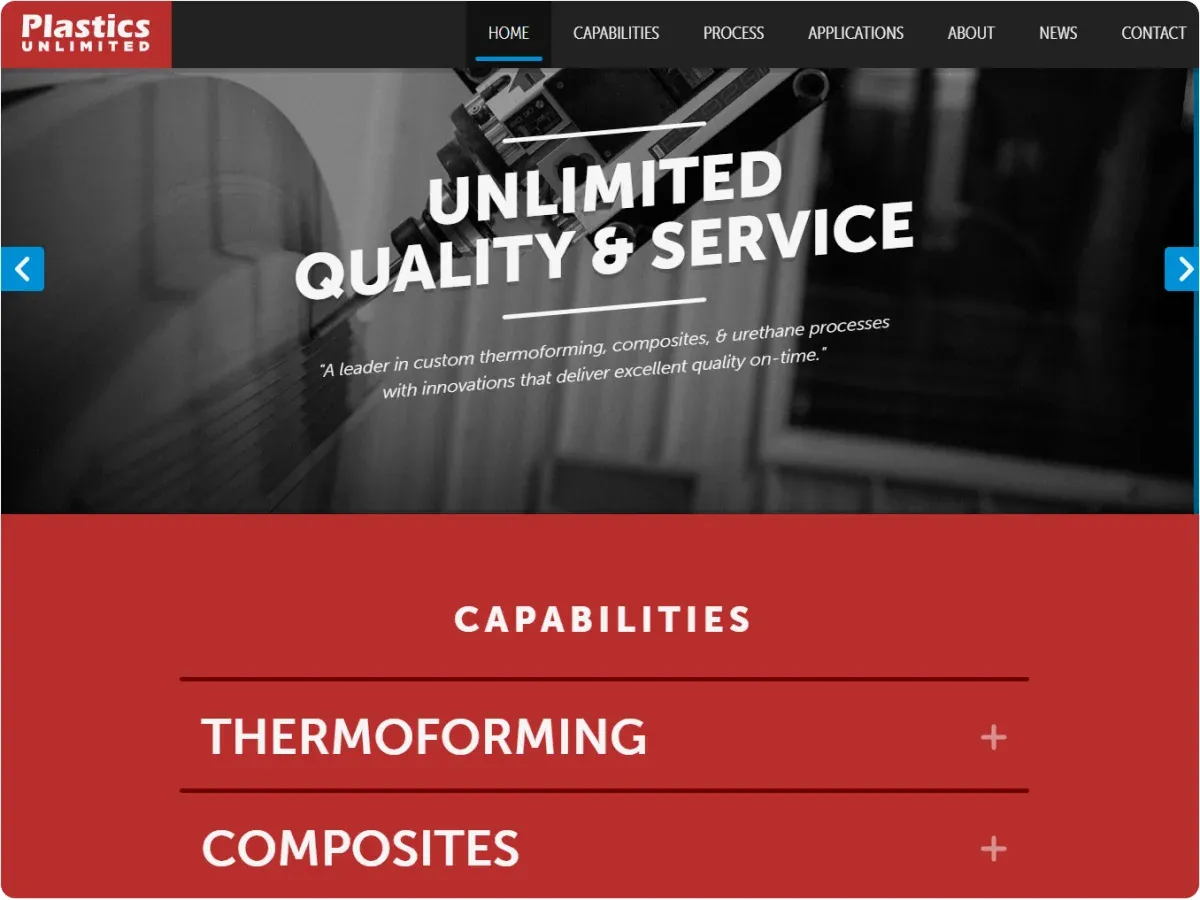
It’s a good idea to include a toggle display so you can expand or collapse sections, keeping your design neat, like in the example above.
Visual Hierarchy
Besides easy navigation, you should organize elements to indicate their order of importance.
It primarily refers to color, size, contrast, typography, and spacing.
For example, bold fonts can emphasize important information, and whitespace creates breathing room around elements.
In addition, colors and contrast and more prominent CTAs will attract more attention.
Step 3: Add Content
Besides design elements, your website copy is crucial to engage users and drive conversions.
As you’ll see, design elements intertwine with content elements and visuals.
Naturally, your copy should align with your website’s objectives and audience.
In order to write a compelling copy, you should incorporate the following:
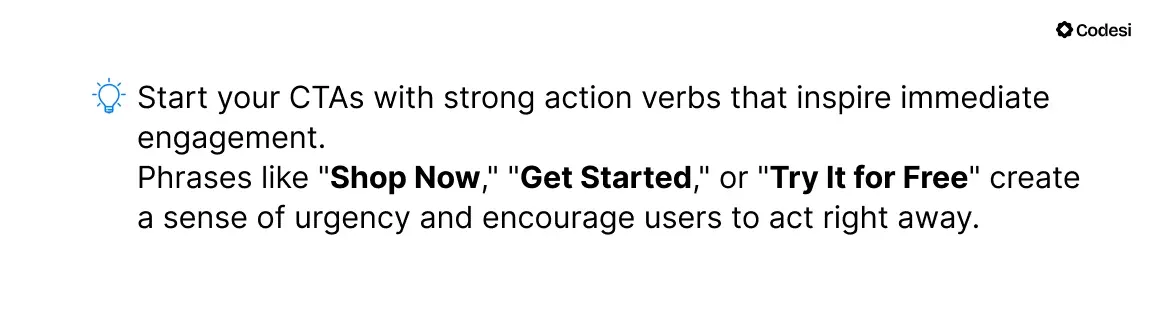
- Create compelling headlines that convey the value of the content. A strong headline should answer the visitor's question, "What's in it for me?" and encourage them to read further.
- Use direct and actionable CTAs throughout your copy to ensure that visitors know what steps to take next.
- Organize your content with headings, subheadings, bullet points, and short paragraphs for easier scanning.
- Highlight how your product or service solves problems. Clearly state the benefits rather than just listing features, making it relatable to your audience’s needs.
- Incorporate visual elements, such as images, infographics, or videos, to complement your text.
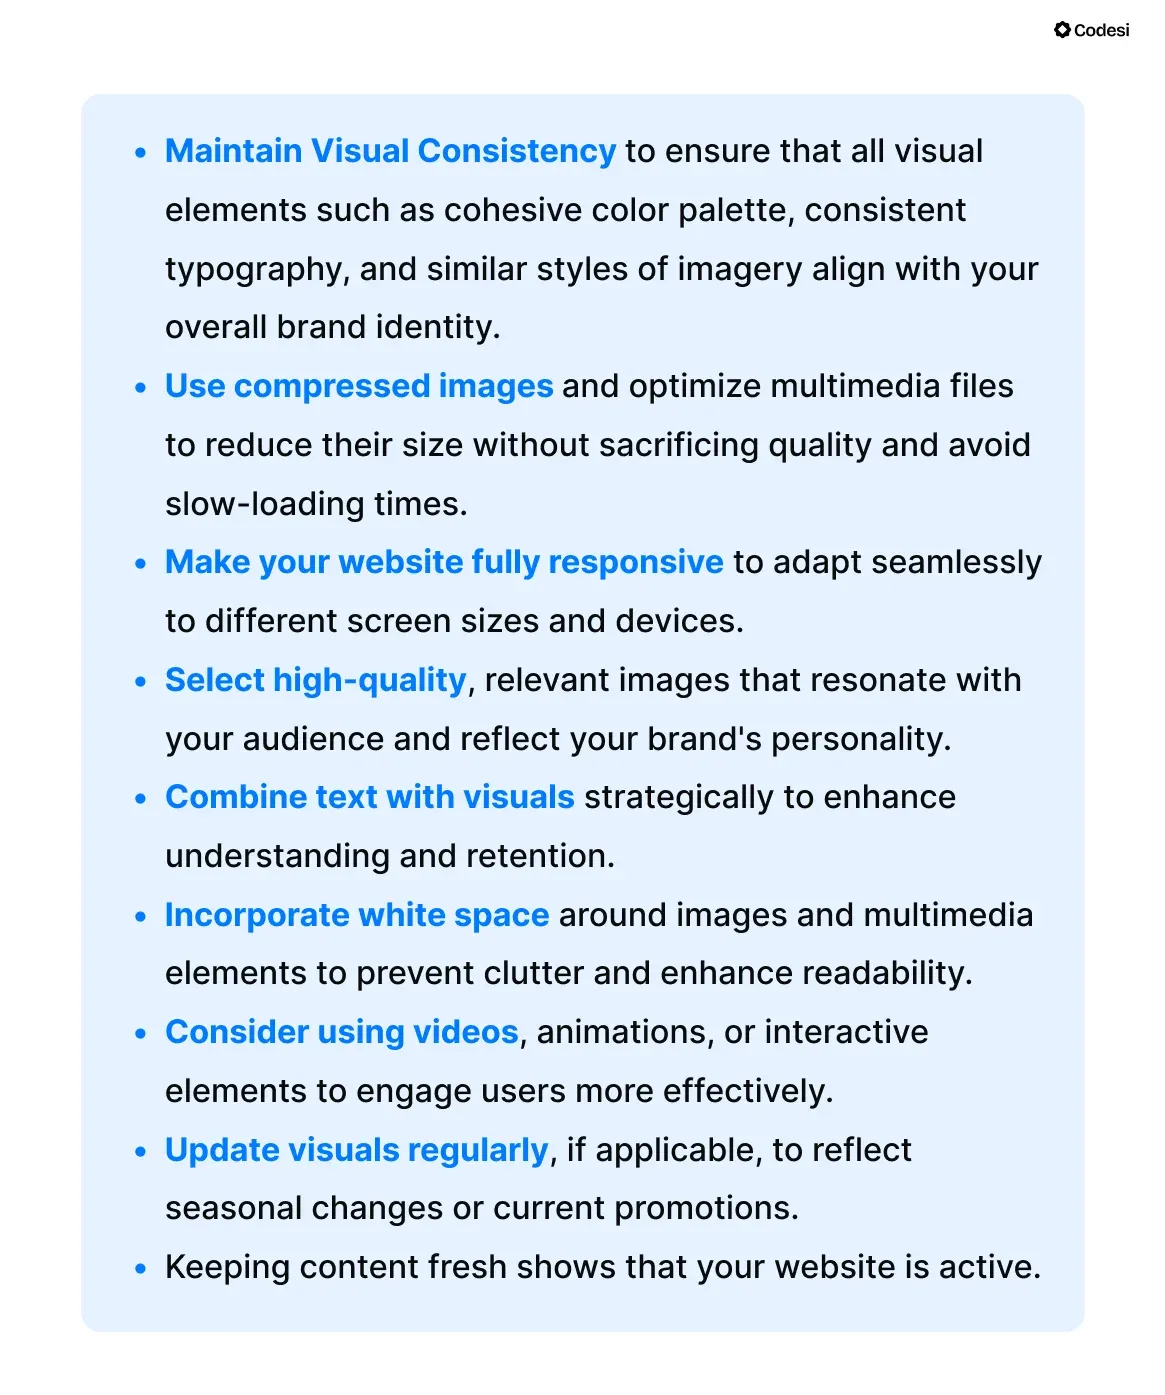
This is particularly useful for showcasing your products or offering demos.
- Add a storytelling element and craft narratives that speak directly to your audience’s pain points, needs, etc.

Other storytelling techniques you can try are to:
✨ Position your audience as the hero of the story and shift the focus from your brand to the customer, making them feel central to the narrative.
✨ Set the scene visitors can relate to. By describing familiar environments or scenarios, you help visitors visualize and connect with the story.
✨ Use testimonials or case studies as storytelling elements to showcase real-life applications of your product or service.
By sharing success stories from satisfied customers, you build credibility and trust while illustrating how your offer can solve problems for potential buyers.
- Contact forms
Enable visitors to easily get in touch with you to reach out or submit inquiries.
Step 4: Integrate Social Media
Integrating social media into your website can significantly boost user engagement and expand your online presence. Here are some ways to do it:
- Place social media buttons in prominent locations, such as the header or footer of your website. These buttons should link directly to your active social media profiles, making it easy for visitors to connect with you.
- Add social share buttons on blog posts and product pages to encourage users to share content across their networks. Consequently, you can expand your reach and drive traffic back to your site.
- Include a "social wall" on your website that collects posts from various social media platforms. Thus, it showcases user-generated content and highlights community engagement, making your site more interactive and visually appealing.
- Enhance the user experience by allowing visitors to sign up or log in using their social media accounts.
This simplifies the registration process and, as a result, can increase conversion rates by reducing barriers to entry.
Step 5: Integrate Payment Options
Besides making a website without coding, you can also connect payment services to your website without coding with no-code payment integration solutions.
The most popular no-code solutions are PayPal and Stripe.
PayPal provides a no-code checkout solution that allows you to add PayPal buttons to your website easily to accept payments.
Stripe allows you to set up payment forms and integrate them into your website by guiding you through the process step by step.
It also provides plugins for popular platforms like WordPress and Shopify, making integration straightforward.
Many no-code solutions support various payment methods, including credit cards and digital wallets like Apple Pay and Google Pay.
For example, Stripe supports popular wallets worldwide, including Google Pay, GrabPay, Alipay, etc.
Step 6: Optimize Your Website for SEO
SEO is a complex topic that can be overwhelming for beginners, but there are many no-code platforms that simplify the process.
They provide a range of functionalities for different aspects of SEO, from setting meta titles and descriptions to using alt text for images to ensure fast loading times.
One of the most popular is SEMrush, which offers features such as keyword research, site audits, and competitor analysis.
Other noteworthy SEO tools include:
- Moz Pro — Has tools for keyword research, SERP analysis, link building, and instant analysis of any page's SEO elements, making it accessible to non-technical users.
- Yoast SEO — WordPress plugin that simplifies content optimization with real-time analysis for chosen keywords. It assists with meta tags, XML sitemaps, and readability suggestions.
- SEOptimer — Includes tools for generating meta tags, keywords, and XML sitemaps and provides insights through audits and diagnostics.
Step 7: Use Website Generators to Create a Website
No-code website builders rely on pre-designed templates and manual customization.
Although these templates are great for getting you on track quickly, their most significant drawback is that they tend to use overgeneric stock images.
Thus, it is more challenging to create unique and tailored designs.
On the other hand, AI website builders enable you to create fully tailored designs based on your input and descriptions of your business and a website goal.
In addition, they can include text-generation tools to enable you to create relevant content and copy.
Their drag-and-drop functionality allows for quick changes and immediate updates to content and design.
💡 ProTip:
Codesi is an AI website generator that helps you establish a digital presence with minimal effort or time.
Our user-friendly interface is perfect for beginners, enabling you to create a website without writing a line of code.
Thanks to our AI tool, you only need to provide a text prompt that we’ll turn into a fully functional website in under 10 minutes.
Step 8: Test Your Website
Before launching your website, test its functionality to see whether
- All links work correctly,
- Your copy is error-free,
- Navigation is smooth,
- The design looks the way you intended,
- The website is responsive and compatible across various web browsers, etc.
In addition, set up analytics and tracking tools, such as Google Analytics, to get insights into traffic and conversion rates.
Voilá, your website is ready for publishing.🎉
How Can Codesi Help You Make a Website Without Coding?
Codesi is an AI website builder that helps you create unique:
- Websites,
- Images, and
- Logos, in a fraction of the time.
✨You can create a fully functional website in under 10 minutes by entering your text prompt and business description.
And that’s all you need to do — Our AI tool will handle the rest: the copy, page structure, development, design, and other elements.
As a result, you’ll get a website tailored to your unique needs and goals.
In addition, you can customize all the elements, change the layout, rearrange elements, choose and delete blocks, apply color changes, and more.
✨ To avoid using generic images, you can use our AI tool to create visuals aligned with your brand, audience, services, and products you offer.
As with website creation, you only need to provide text input, and we’ll transform it into captivating and personalized images.
✨ Since no website is complete without a logo, we enable you to create a logo in the same way as the website and images.
Our products are customizable, so the logo is no exception — You can edit colors, fonts, slogans, and brand names.
We’ll provide you with a pack of 4 logos, each with 3 variations:
- With text and slogan on the right side,
- Text and slogan on the bottom, and
- Without text and slogan.
Besides content and design functionality, with Codesi, you can track traffic and conversion to your website via Yandex and Google Analytics integrations.
Enticed to see Codesi in action?
Start with Codesi for free and automate the website creation process without compromising quality.
Create your website with AI today
Codesi is a platform where you can make a website in 3 minutes.
No coding, no designers, no hassle - just AI.
